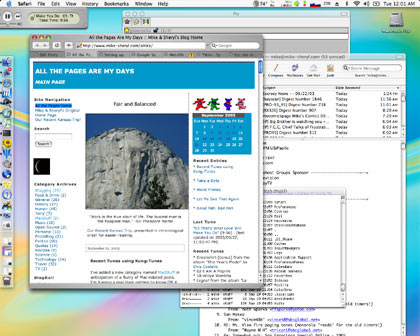
Since one of the things I like to do is post images it seemed a good idea to try this common activity using my new powerbook. I decided to create and post an image to see how it compared to doing the same on my XP machine.
* First, I did a Cmd-Shft-3 screen capture. By now I knew to look on the desktop for the capture image (and, yes it was nice not to have to deal w/where to store the image).
* Next, I dragged the image onto the Adobe Elements icon on my dock, which launched elements. I will probably be using elements instead of photoshop, and this was to be my first real exposure to the program.
* Then I then did an image->resize, which worked pretty much as expected, and since this was a screen capture and not an image from a digital camera I eschewed other processing, such as unsharp mask, etc.
* After that I finished the image processing by saving for web, which has the same interface as in photoshop.
* A quick ftp of the new image file to my isp and I was almost done!
* Finishing up, I created this blog entry, much as I would have for any other entry that also included an image.
All in all, effectively zero cost of switching, at least in terms of this simple task. In fact, it took longer to write this up than to do the actual image creation.

