I’ve just completed cutting and printing my first original linocut design!
Previously I’d used images that were licensed for re-use under a Creative Commons license, but I really wanted to do an original design.
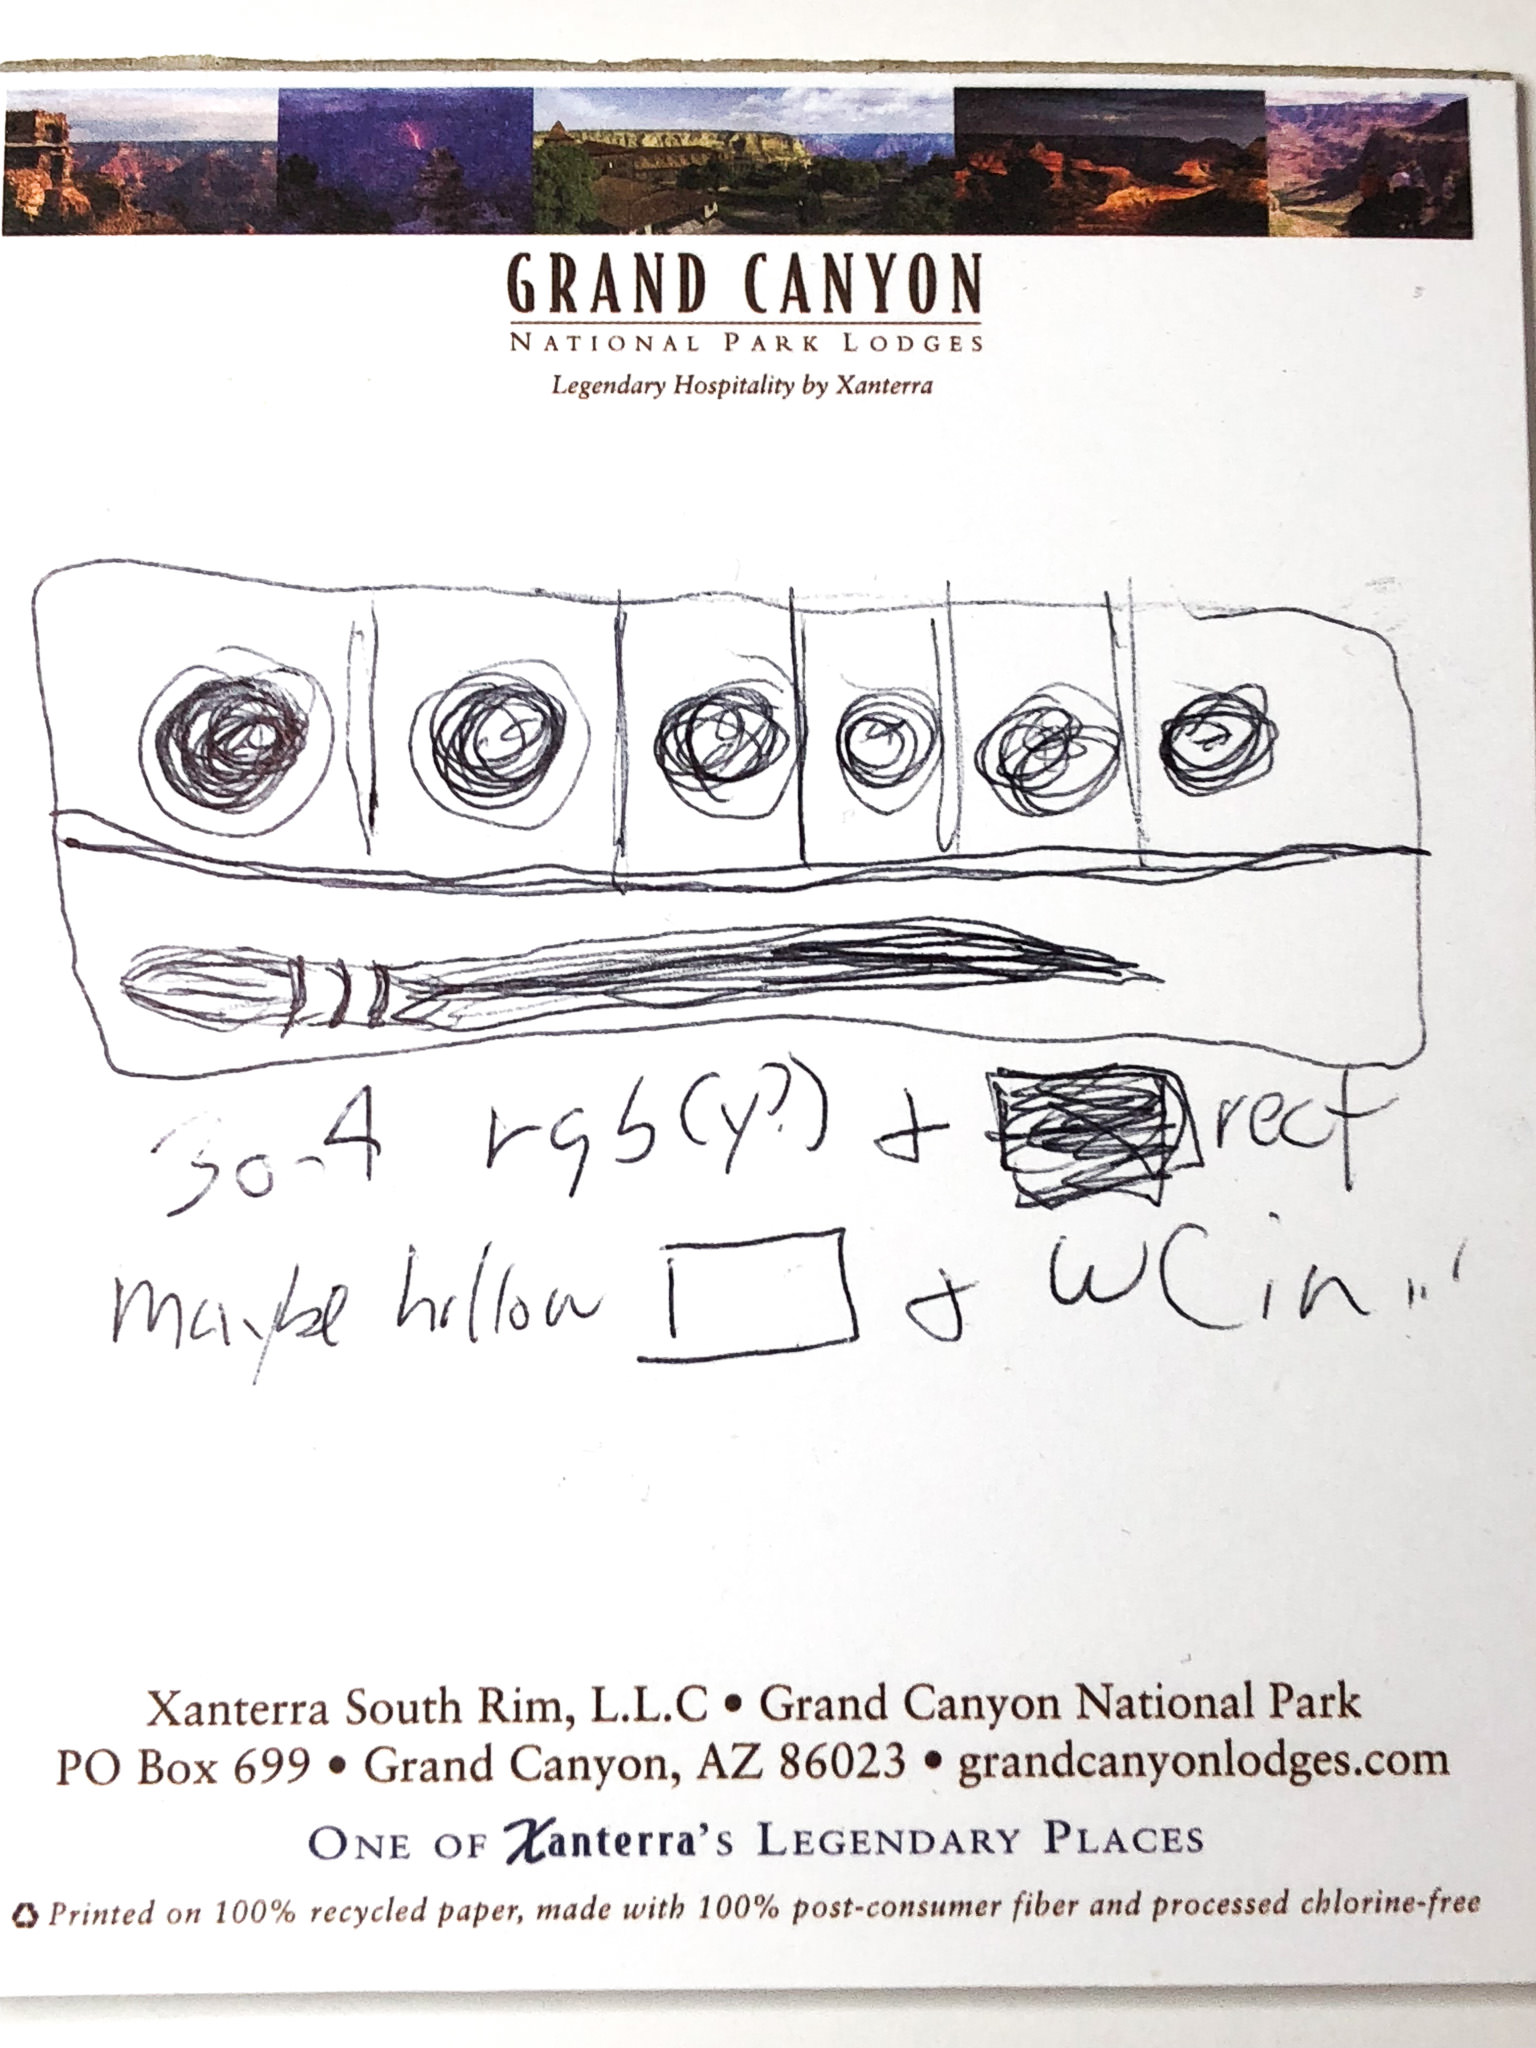
The simple watercolor palette I chose is a good design for a beginner. It has a bunch of straight (in theory) lines, with the only real fine detail in the bristles of the brush.
The quality of the cuts reinforces my beginner status, but like all endeavors, it takes time to become proficient.
In any case, it’s a lot of fun to exercise my creativity!
The sequence below outlines the basic steps.
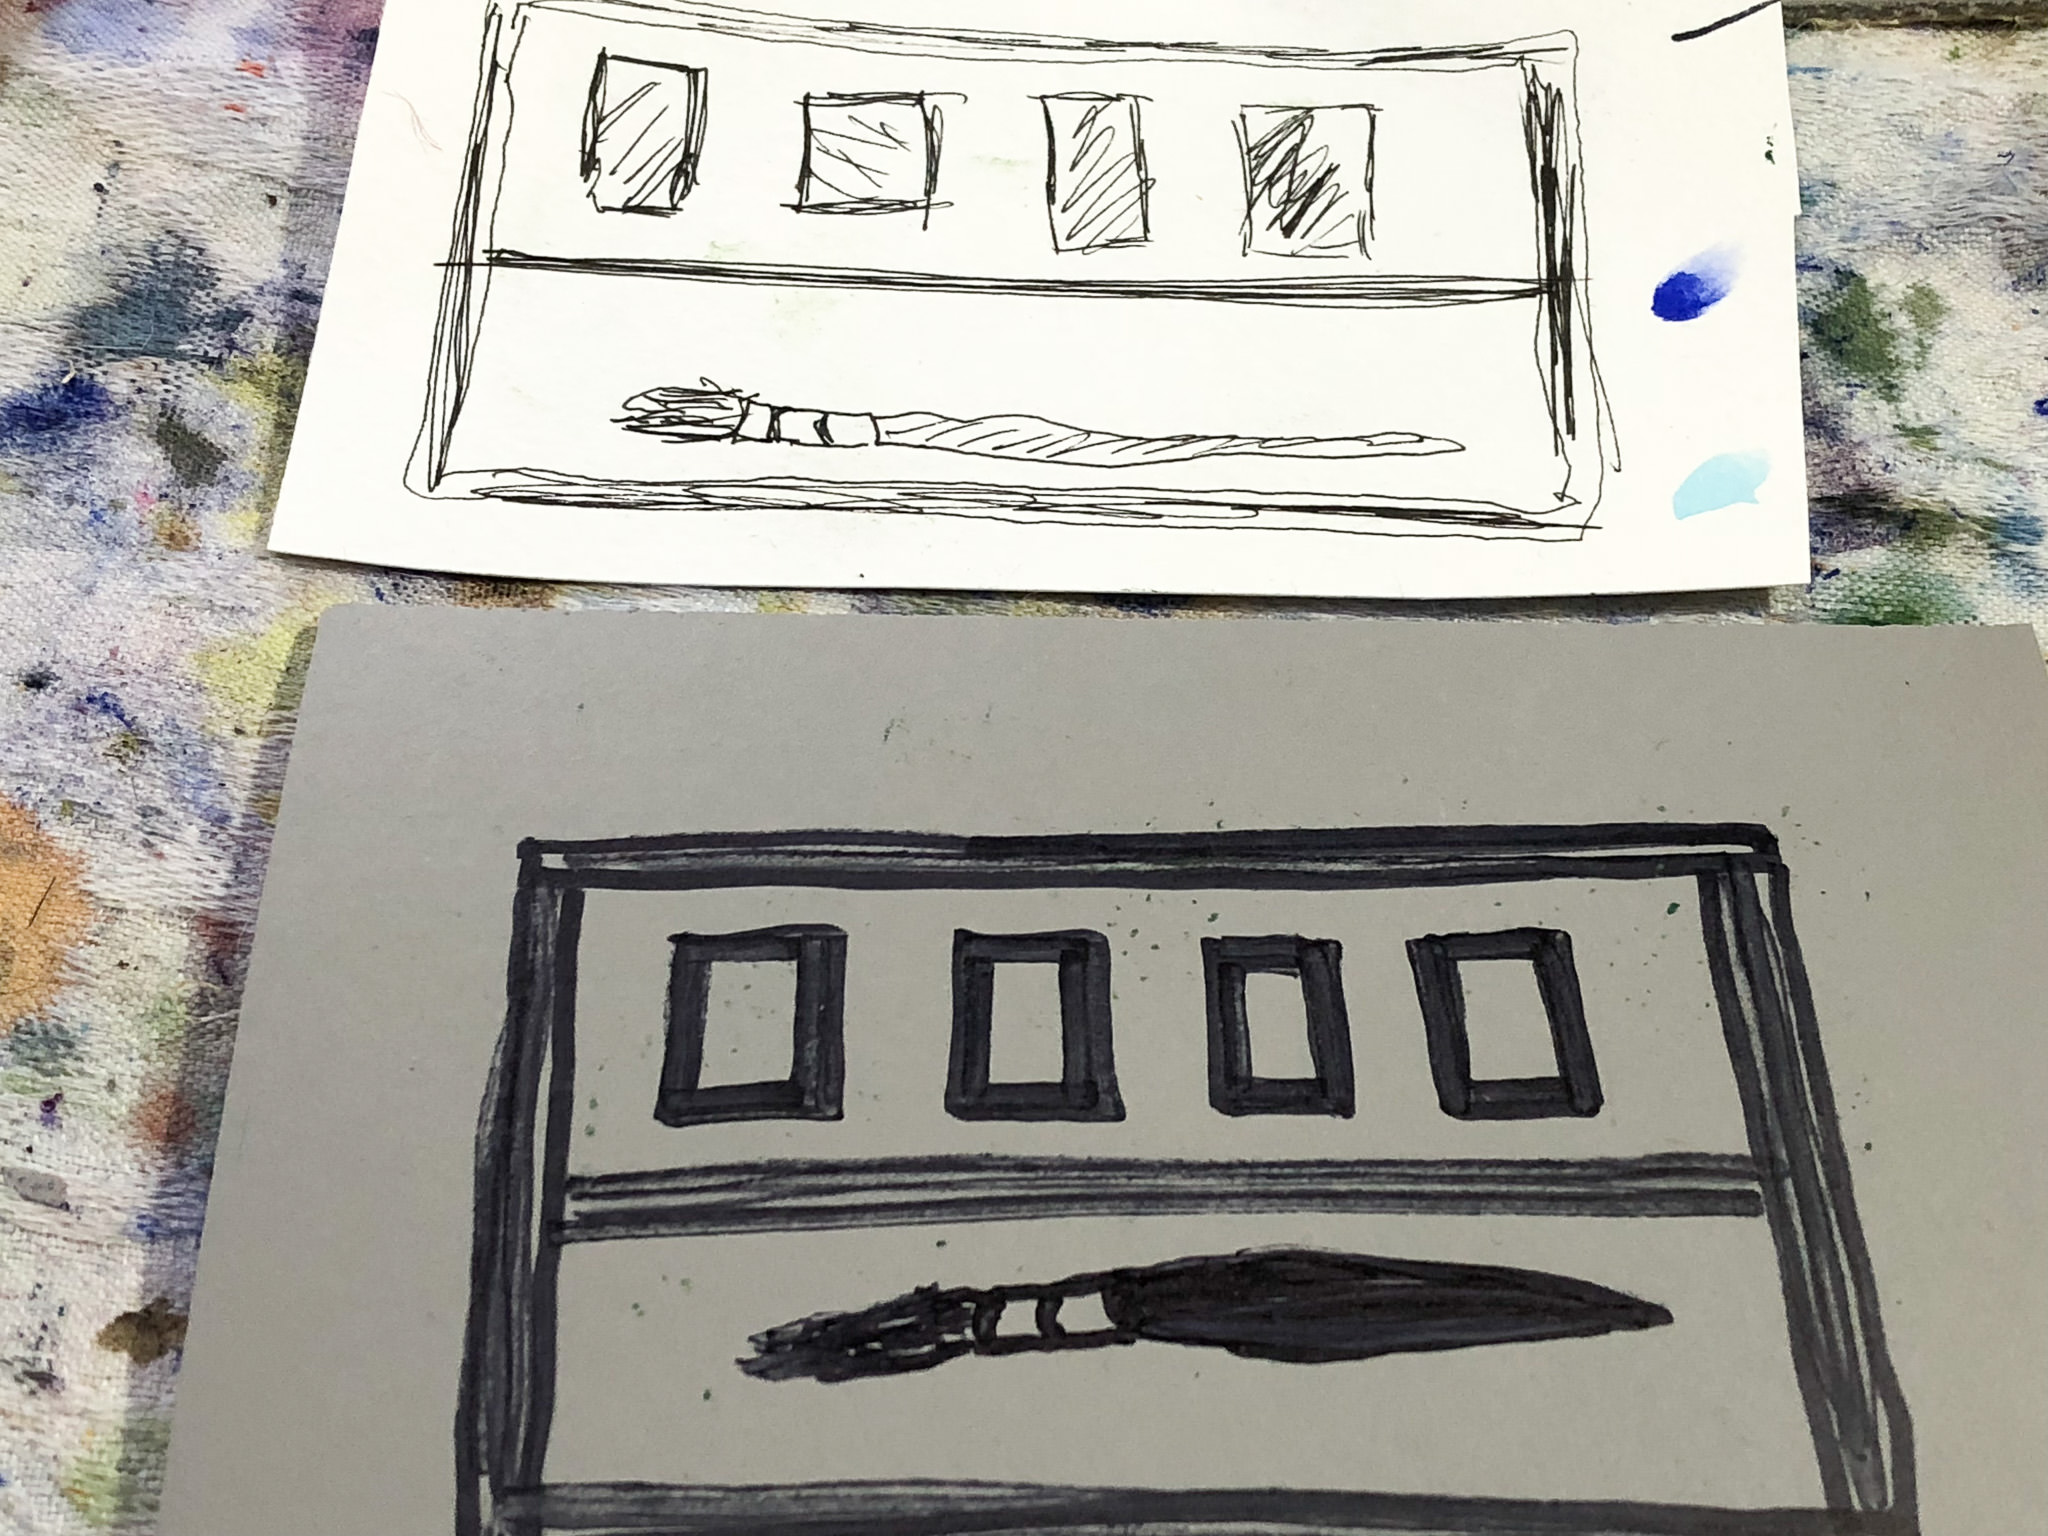
I first drew up a rough sketch of my design, did a second refinement, and then drew the image on the linoleum.
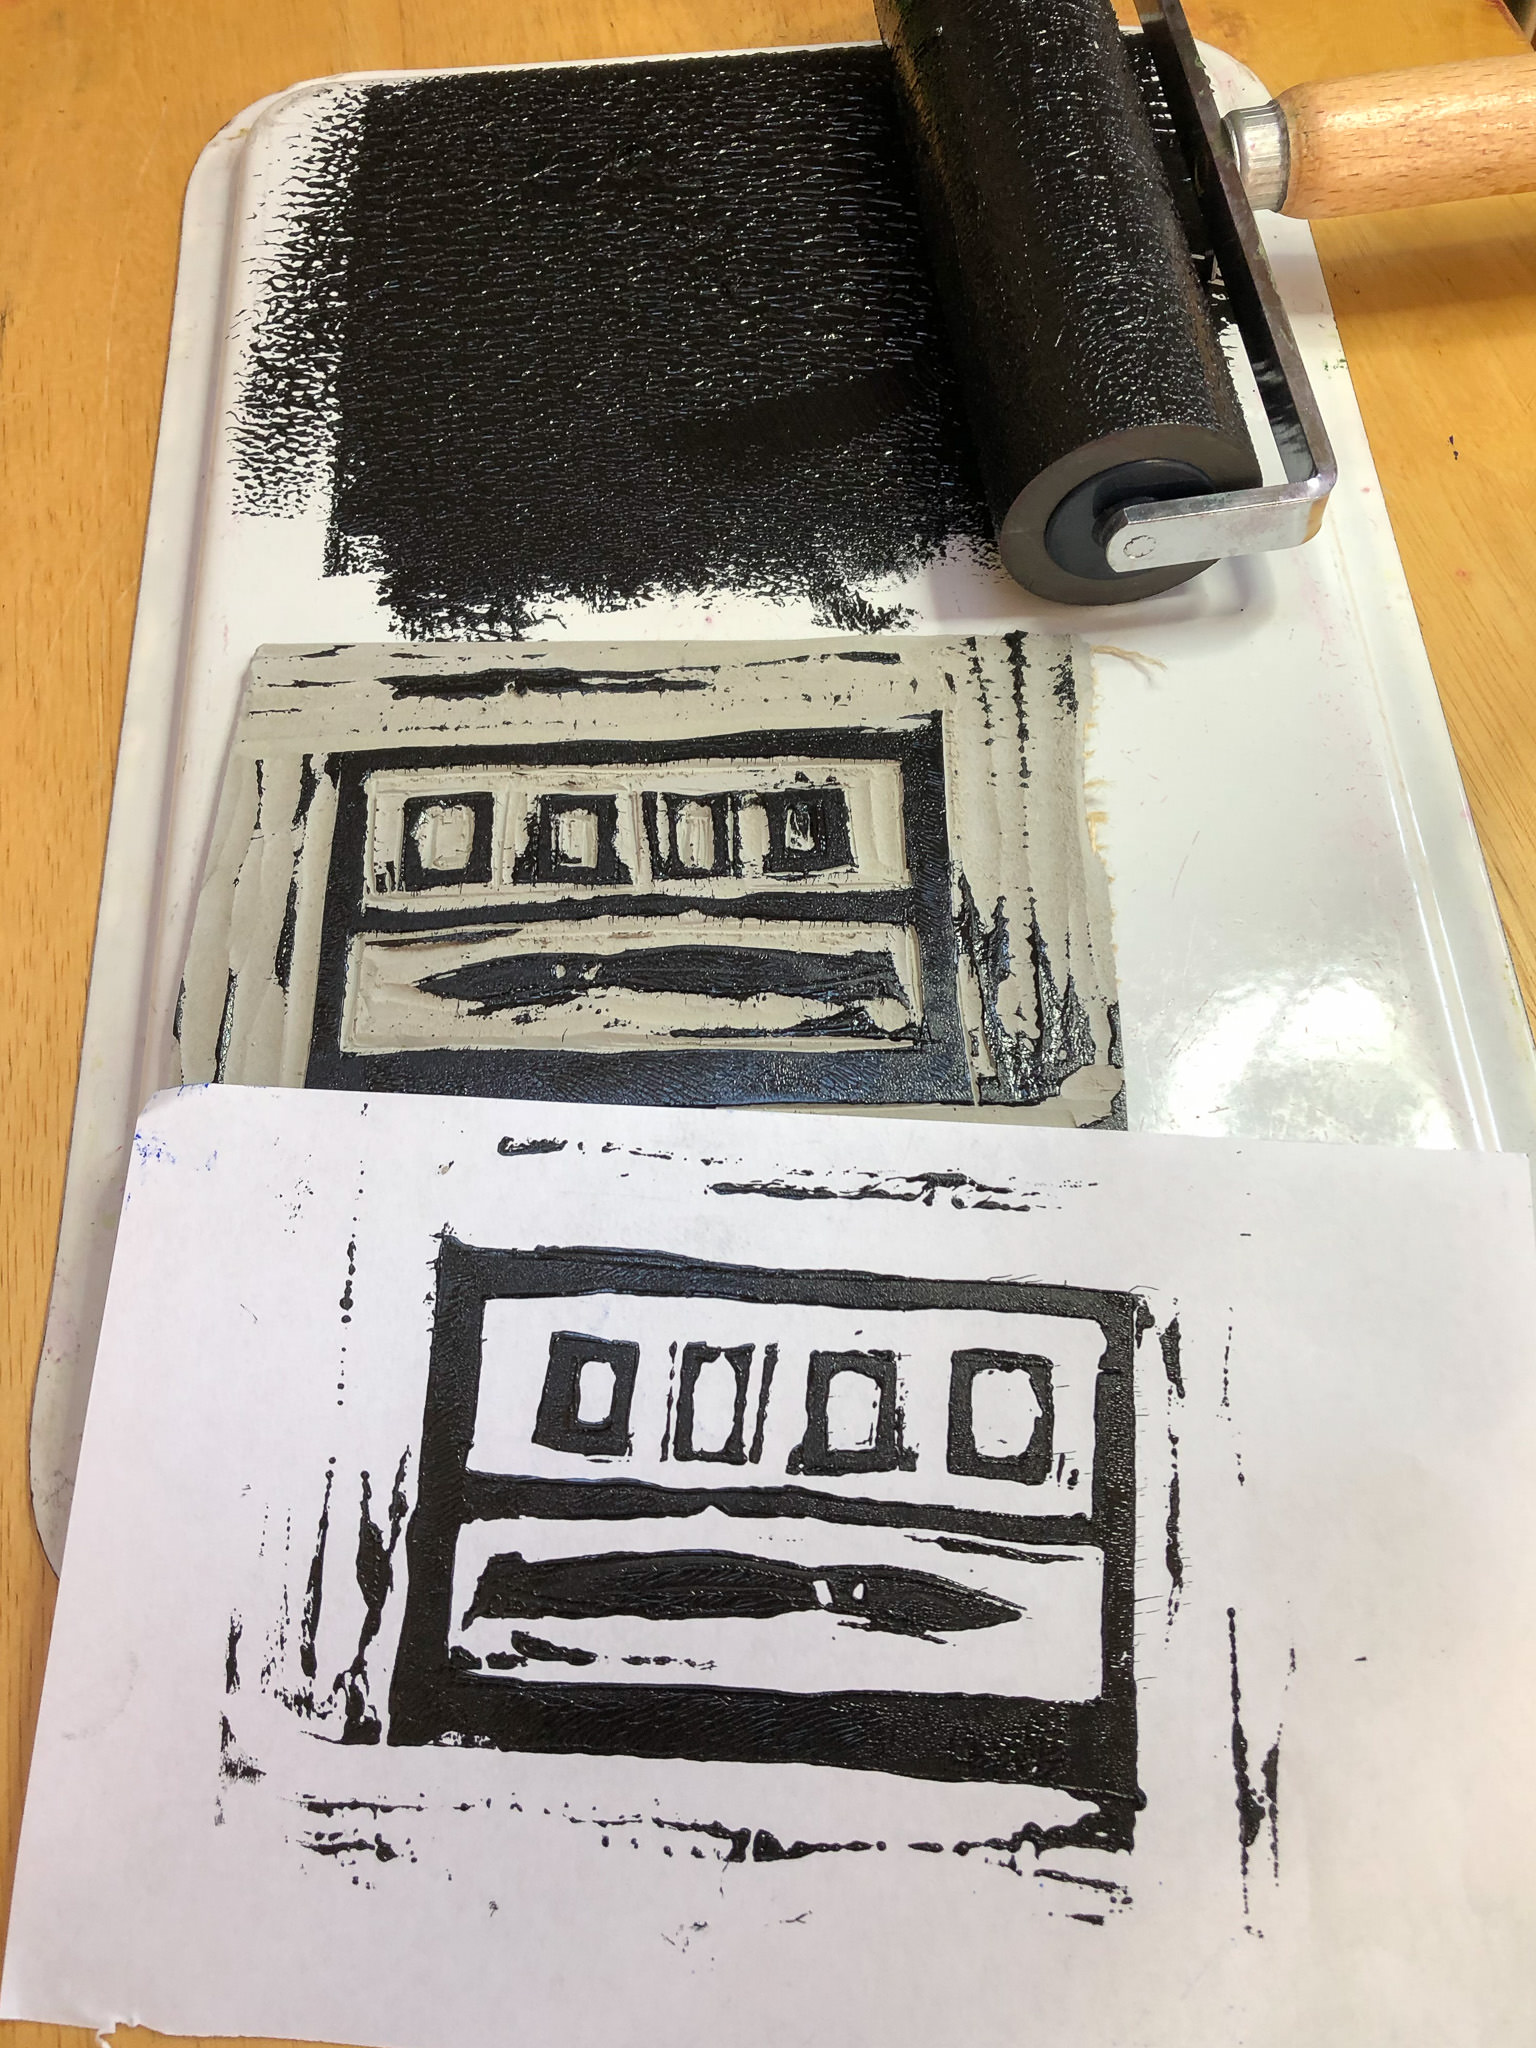
After a certain amount of progress in removing unwanted linoleum (similar to sculpting now that I think about it: remove all the parts that don’t belong) it was time for a test print.
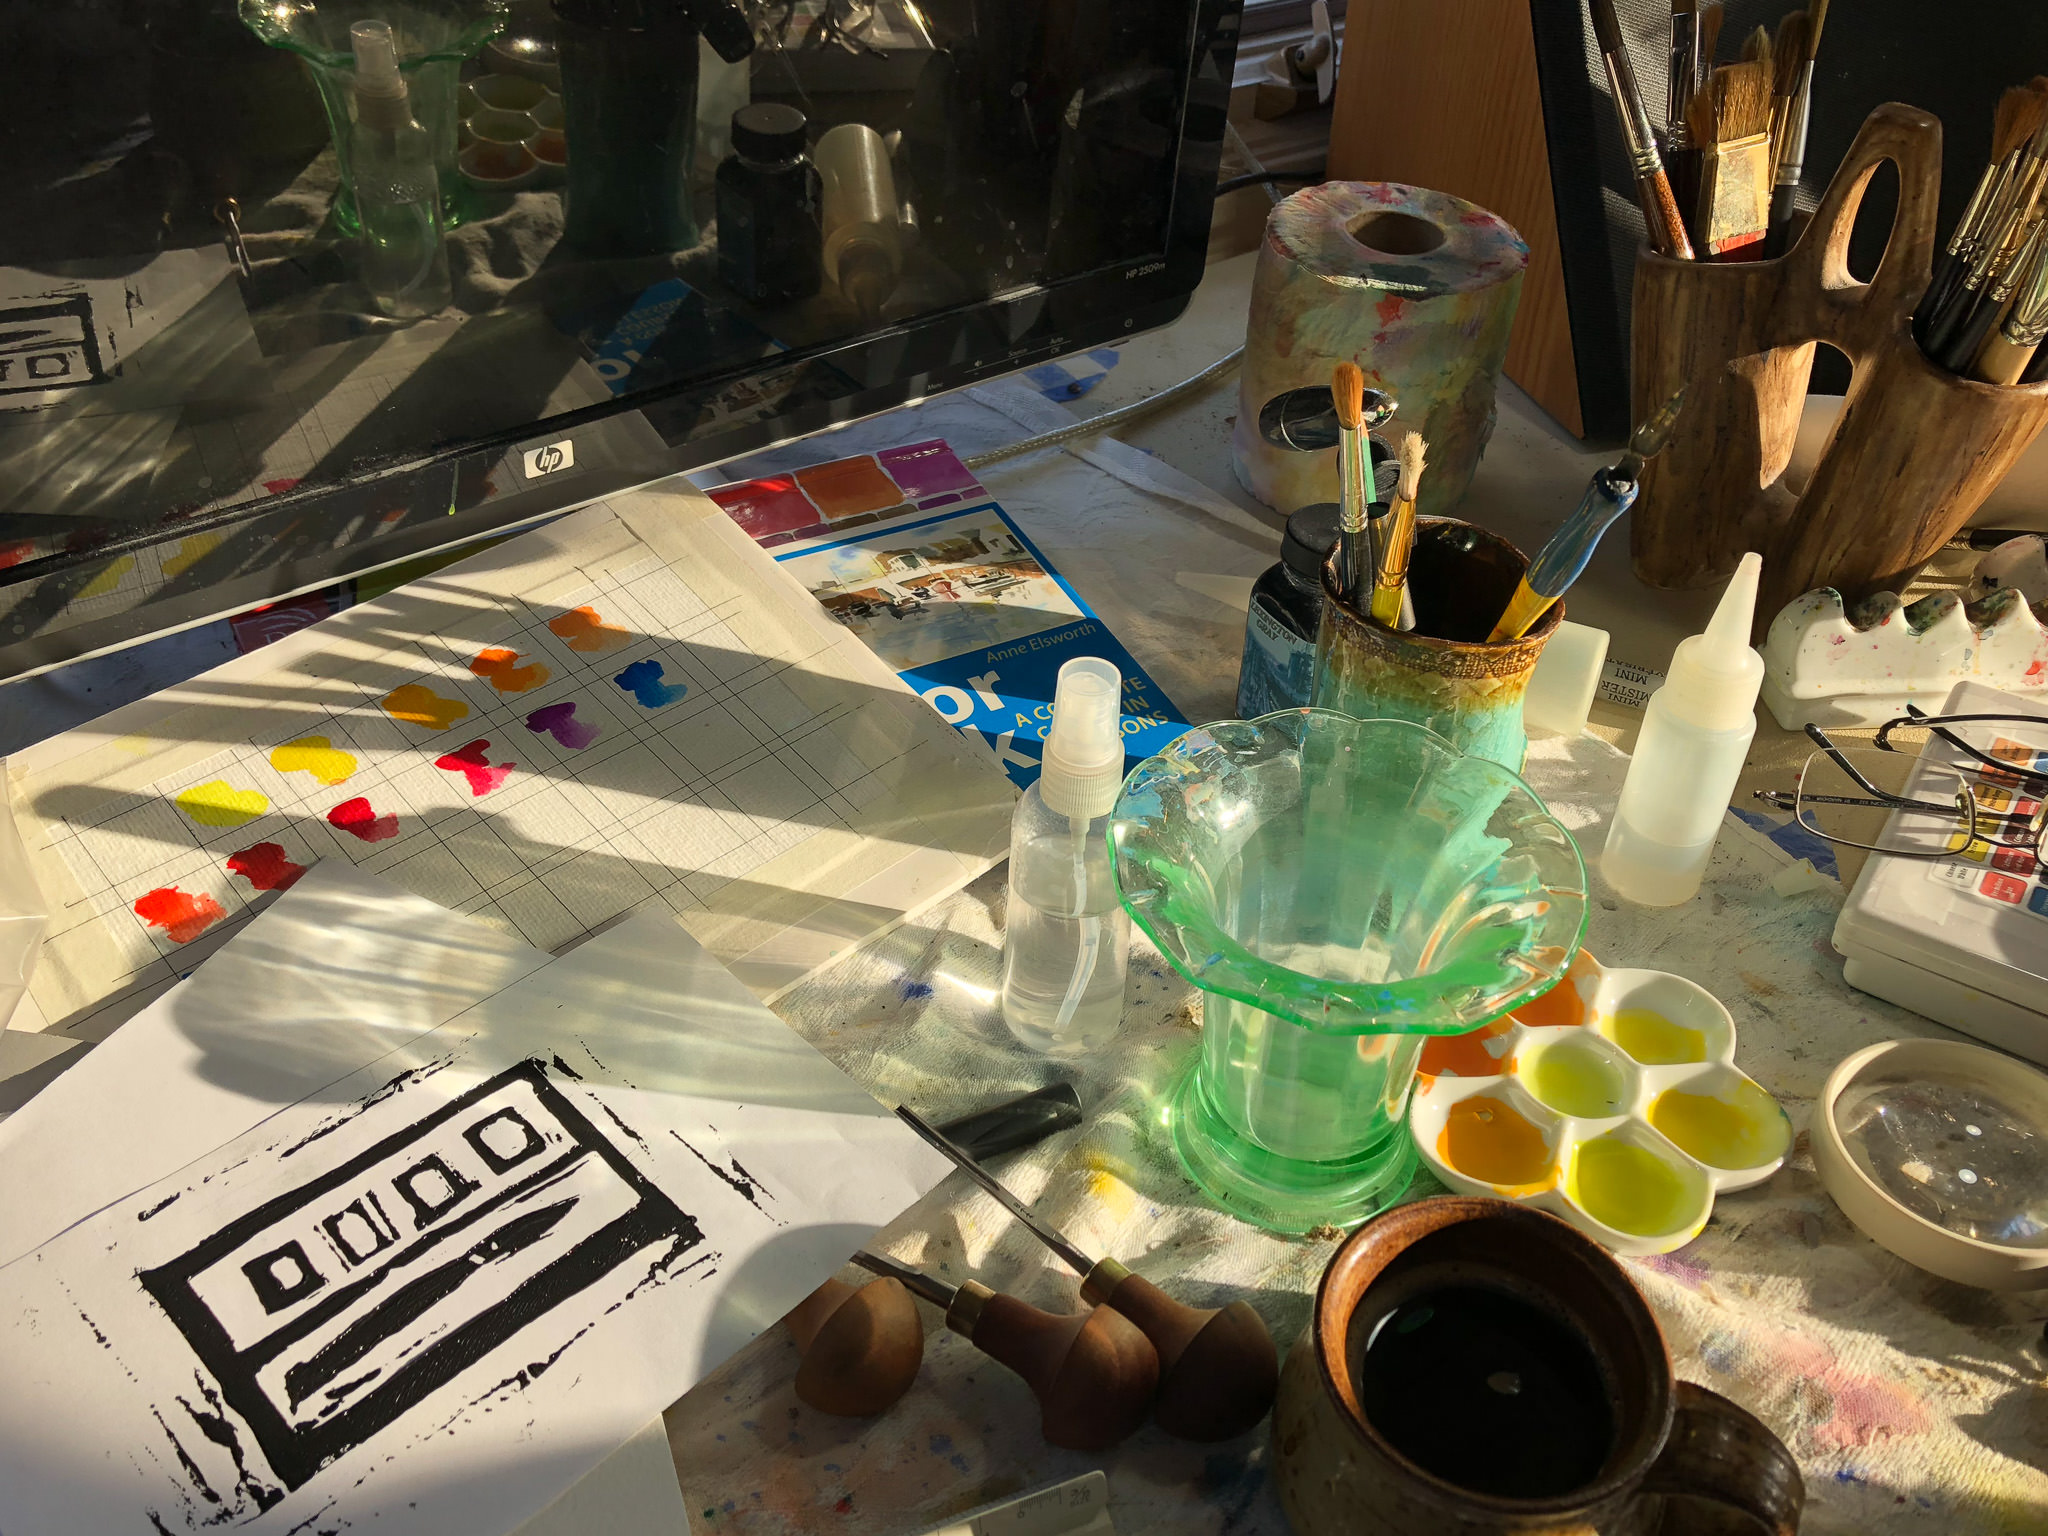
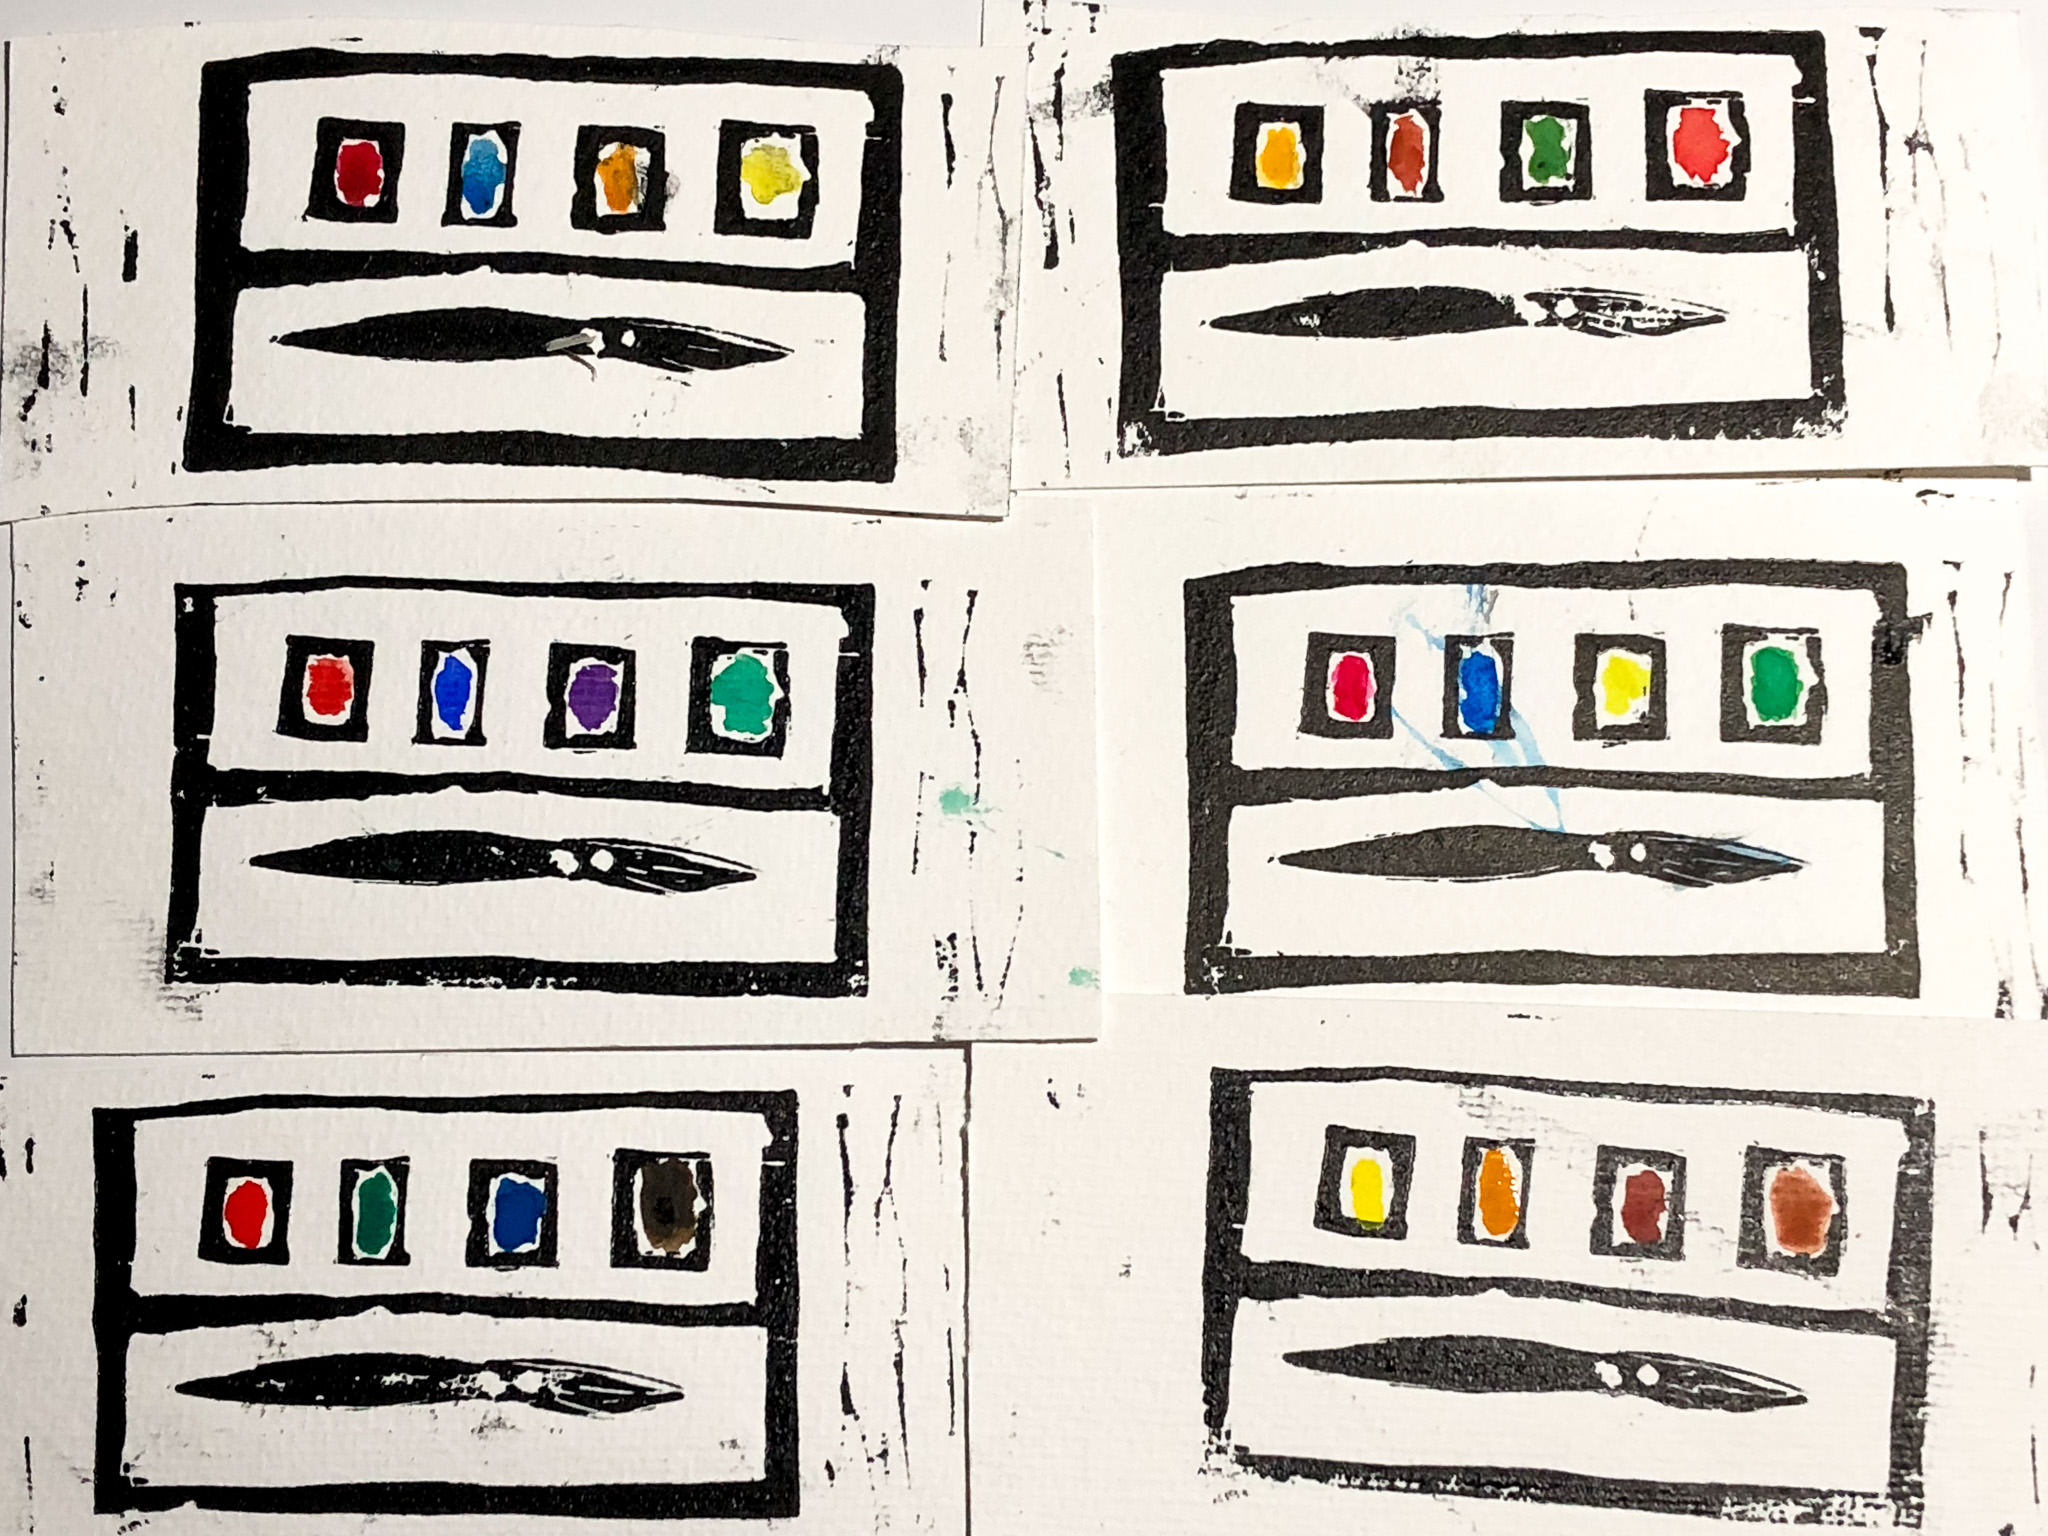
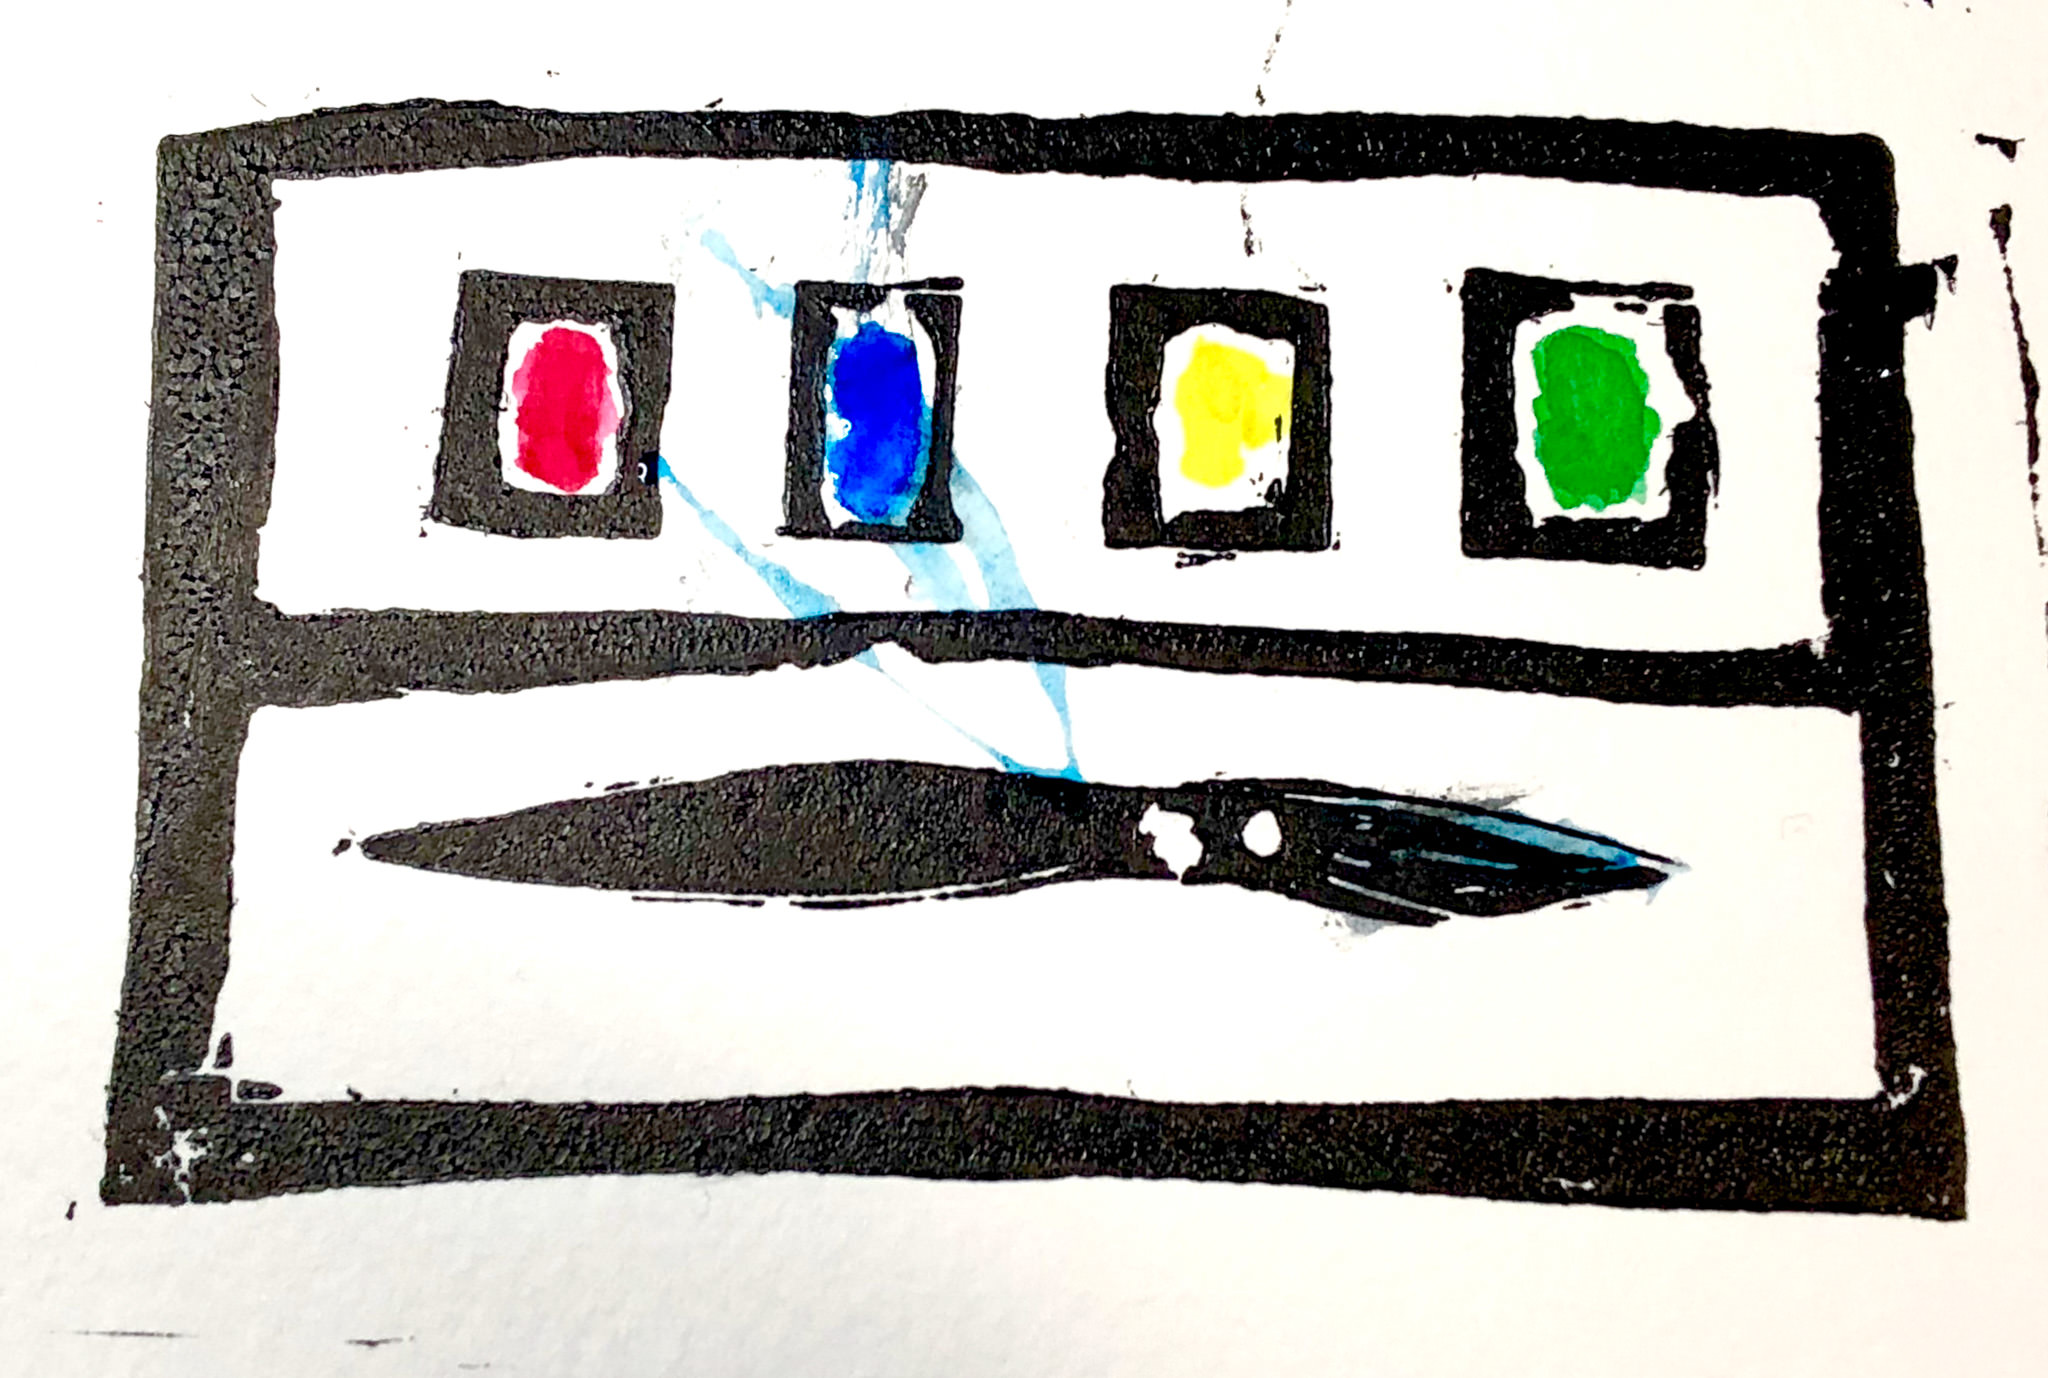
Next, the first keeper in a series of 6. After printing the palette, I painted in the colors with watercolor.
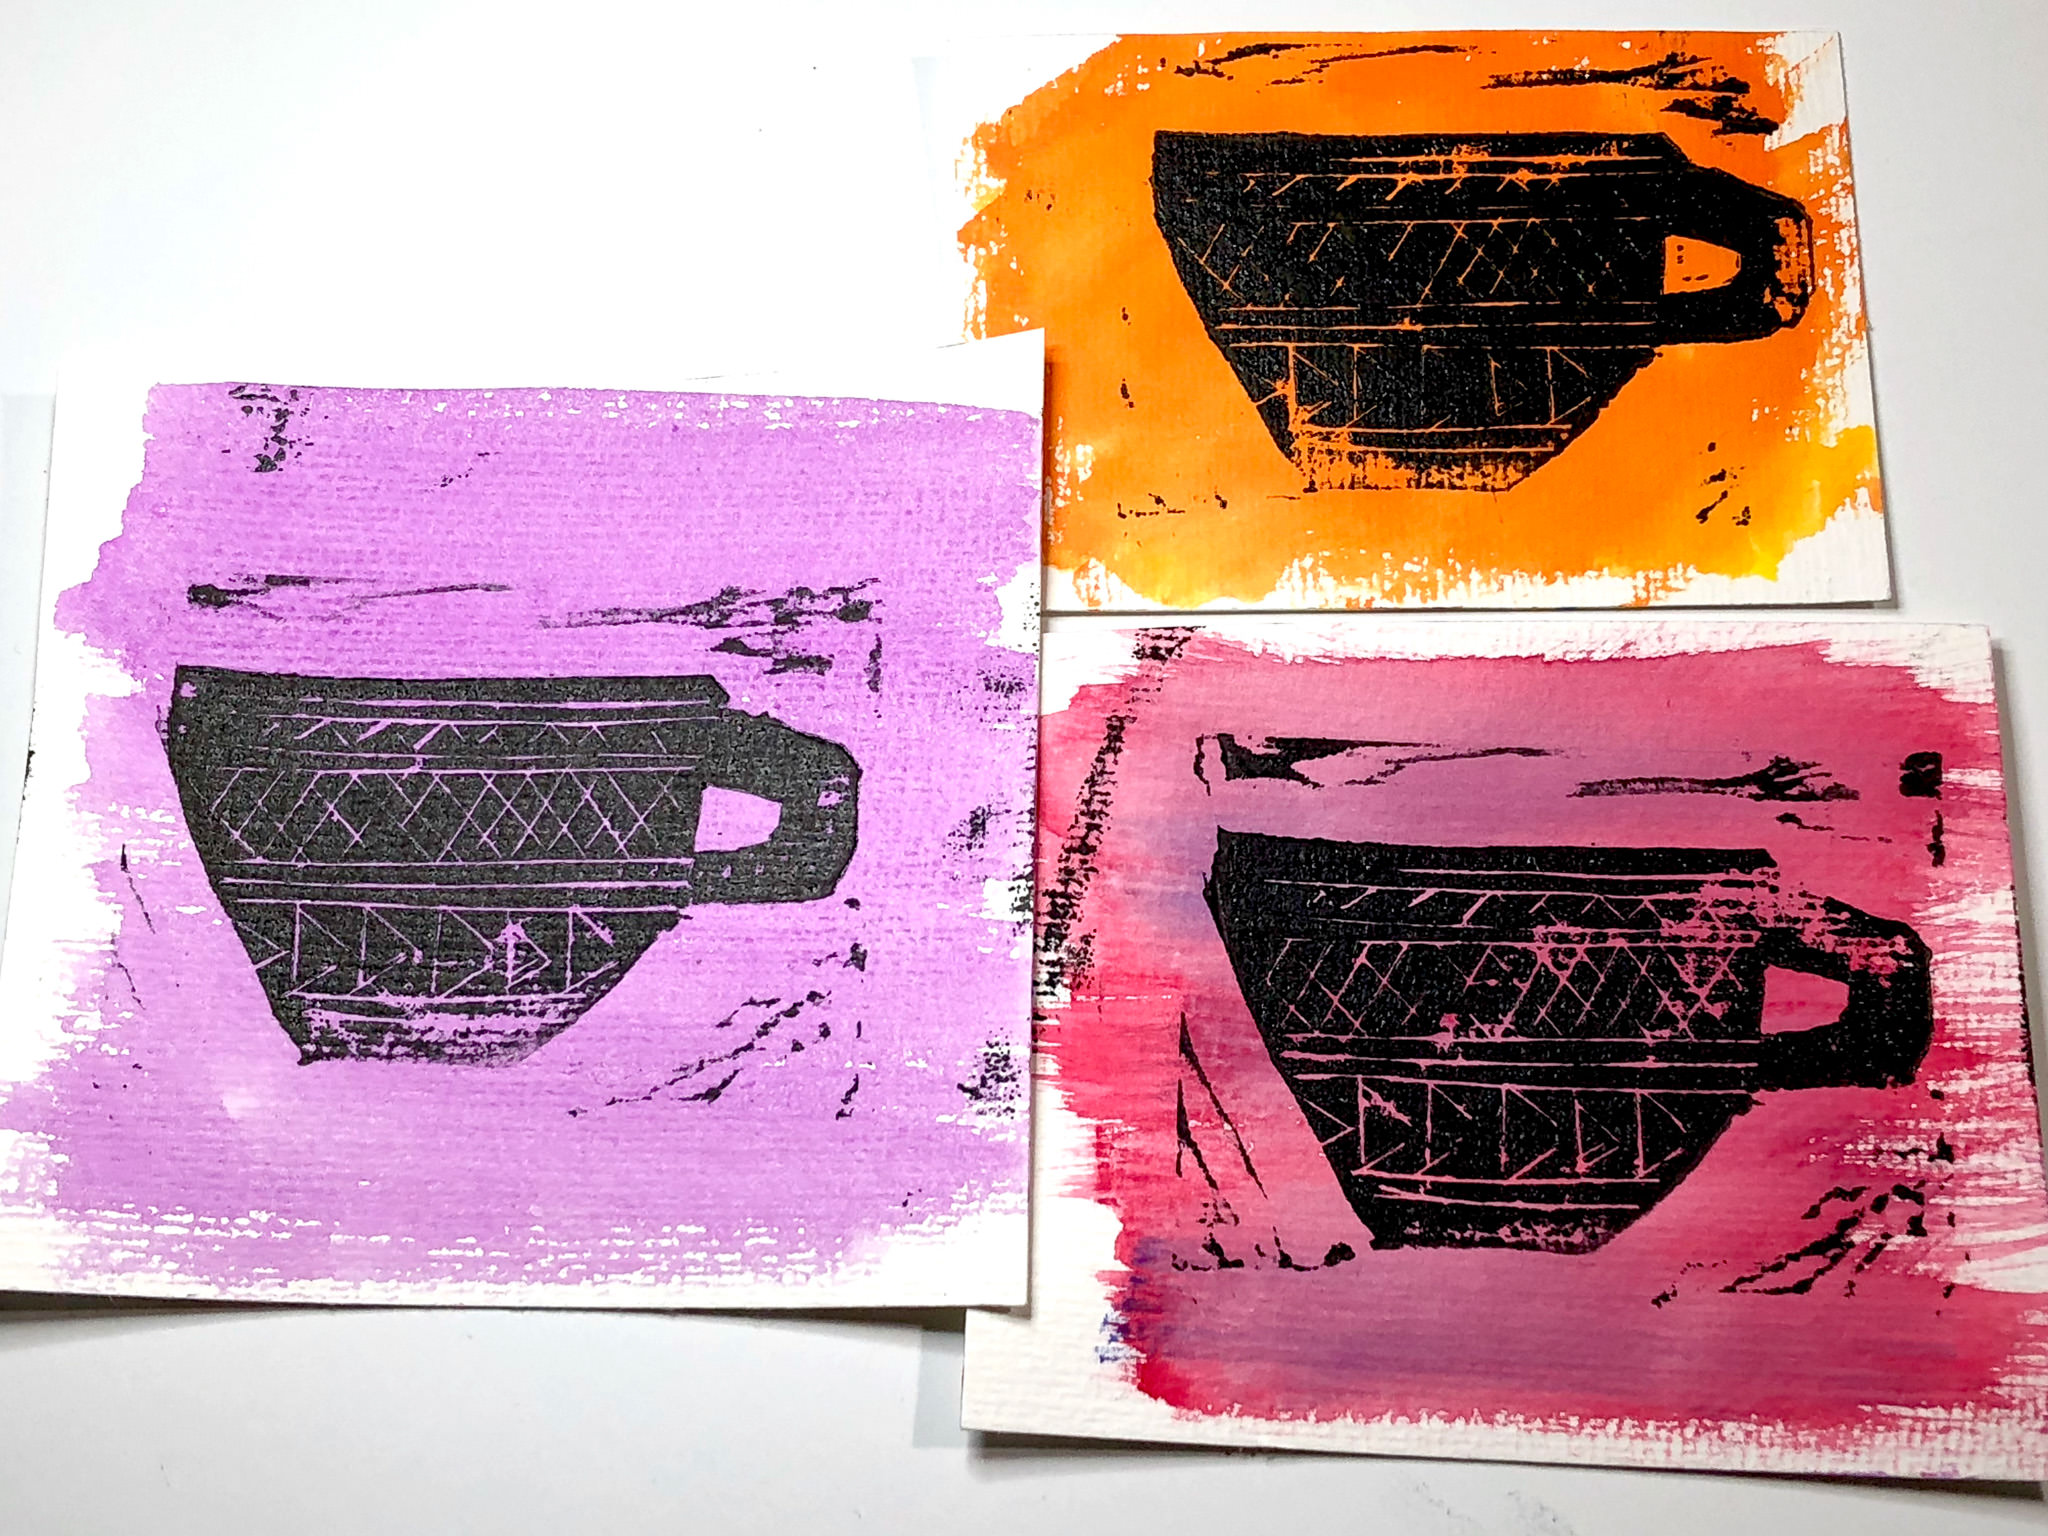
Finally, the entire set of 6 palette prints, followed by a set of covfefe cups I printed since I had extra ink.
There are more photos of the process and the completed prints in my Linocut Palette album on Flickr.